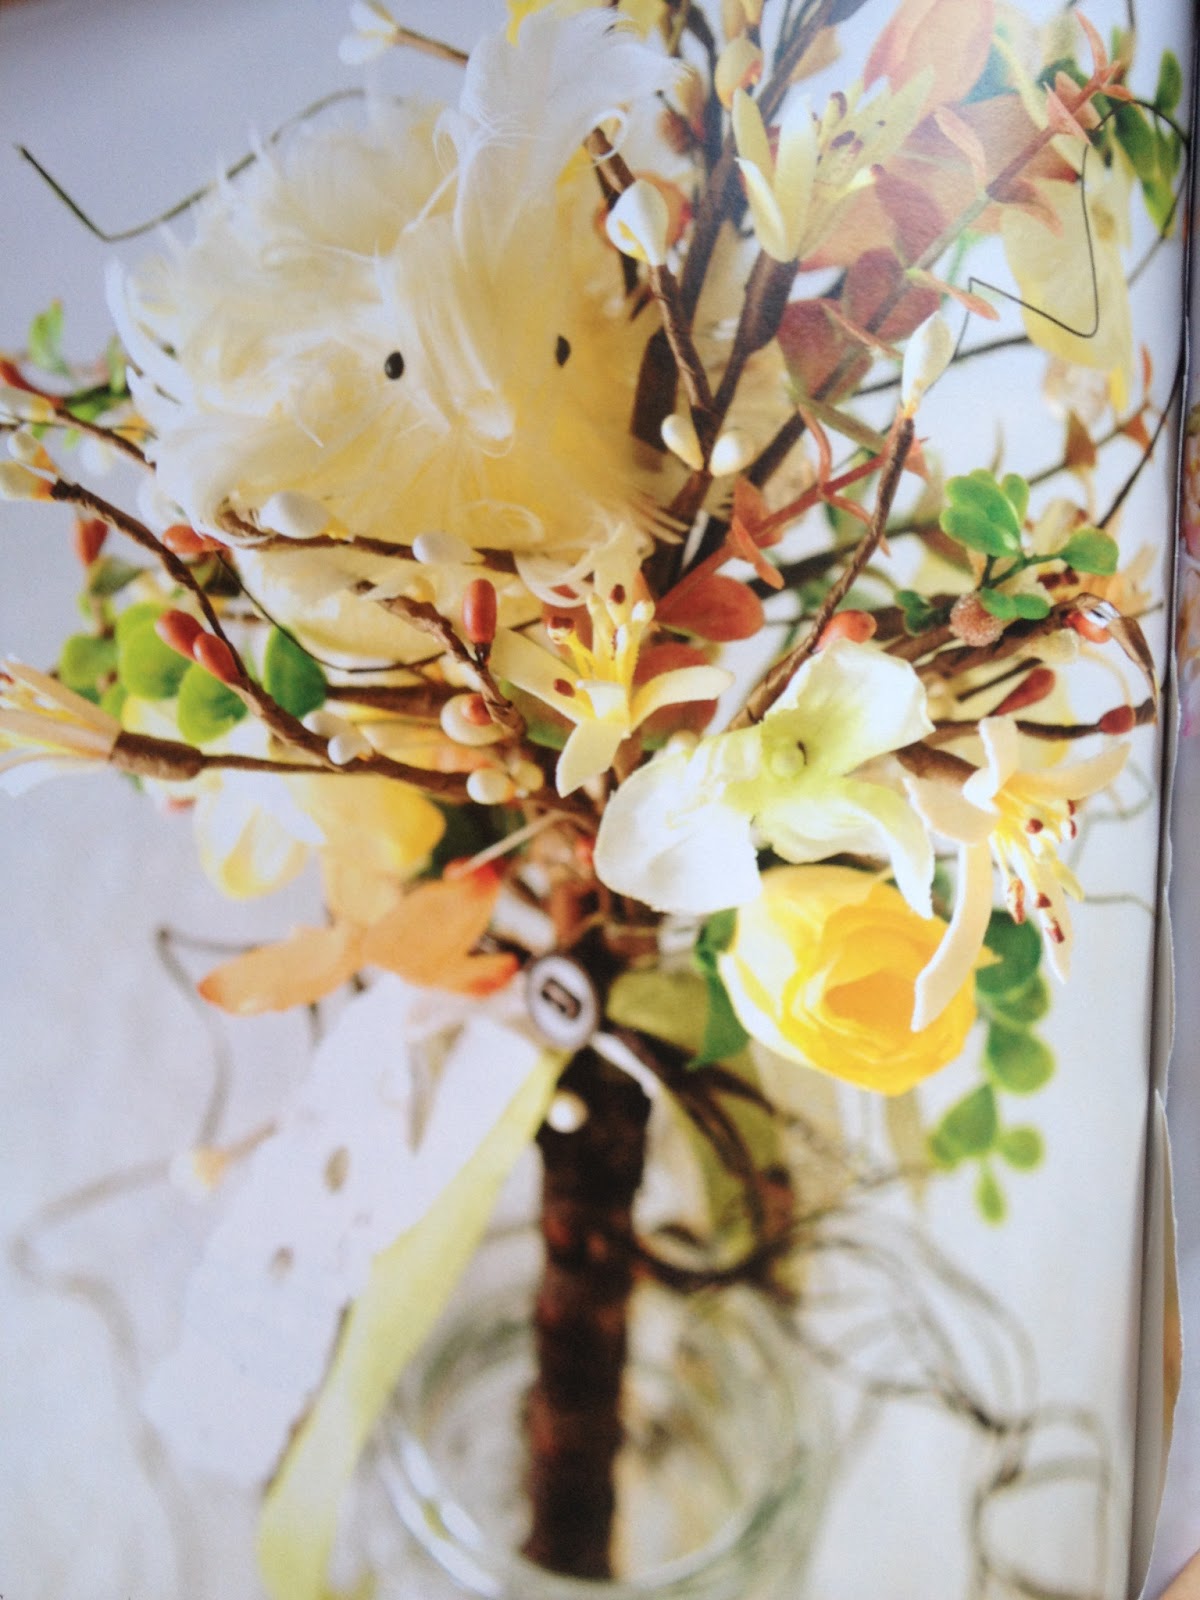
I was given some 2008 Summerset LIFE Magazines from one of my crafty friends. Inside were pictures of these cool Spring wands. These wands have been in the back of my head to make for six months now. Our daughter has several birthdays to attend this and next month so I finally decided to make some. This would be a great craft to do with your kids. Our almost five year old daughter helped a great deal.
This craft falls under the "Fast and affordable gifts." It would go great with the
wings tutorial I posted before. However, these wands were a bit more money. I'd say each wand cost me about ten dollars. And that is with a bunch of items I already had on hand. But, they turn out fabulous and unlike anything you could find in stores. Plus, they are ultra durable and won't break like the cheap wands.
Here's how to make them.
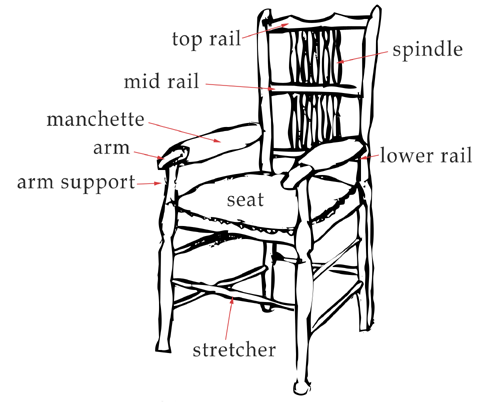
First, I went to my local thrift store and purchased a junky dining room chair. Making sure the
Spindles were turned (decorative) and thin. I gently disassembled the back of the chair to remove the spindles without breaking them. You could also order the spindles off ebay. But, I had a day to do these crafts so I shopped local.
Next, I washed the spindles before painting them. I used two coats of a metallic paint. I chose metallic silver, gold and white, alternating colors on each spindle. My daughter, R, was really helpful in deciding what pattern they each needed to be. Then we glittered them with bright colors, red, blue and gold.

We then cut some purple beaded vine wire in about eight inch sections. I made sure I had four branches per wand. When I went back to the store to get more, I bought a longer wire but the branches were further apart. So, I just looped the wire to keep the beaded branches closer to the wand.
I then applied a bead of tacky glue around and on
either side of the top of the wand to glue the wired beads. I had a spool of small gauge cotton
coated wire that I used to wrap around the beaded wire tightly to the wand.
Then tacky glue on top for good measure. We then used craft tacky glue and affixed rhinestones, sequence and beads.
The final touches; I tied one large bow and one small bow of sheer ribbon on opposite sides. This was to maximize coverage of the wire wrap job. I would also secure them with glue if giving to kids. I then glued a butterfly at the top. Any woodland animal or insect would work. I thought birds would be pretty too but we stuck with butterflies.
Post a photo on my
facebook page if you make one of these Spring wands. I'd love to see what you come up with.